In Destiny 2, Season of Arrivals is officially here! This Season acts as the prelude to upcoming Fall DLC, and includes a host of new activities including a new dungeon. Players should attempt to experience this dungeon while it lasts, at Bungie have stated after this season the Prophecy dungeon will be disappearing for a limited time.
As such, today we will be going over the different encounters and the best way to complete this dungeon. The first step to any good dungeon completion is the prep work. To load into this activity, players should head to the Tower.
The dungeon is listed at 1040 recommended light level, so be sure to check out this power leveling guide if you’re not there already. Additionally, it is recommended that players make use of Taken armor mods as they are populous throughout the activity. Most of the tips and information were compiled from either gameplay or Youtuber KackisHD. As such, be sure to follow along with his guide and check out his channel below:
The first thing you will see once entering this activity is a portal on the Drifter’s ship. Players should enter the portal just as they would do in Reckoning to be transported to the actual dungeon itself. This first room is filled with Taken enemies and a pillar of both Light and Darkness at the end of the hallway.
The Taken knights will drop motes, either Light motes or motes of Darkness. The type of mote received upon killing them depends on the player’s location who delivers the final blow; killing an enemy on the light part of the room results in Light motes, while standing in the shadows results in Darkness.
Each Knight will drop three motes upon death, and players will have to farm the maximum of 5 motes to carry over to the corresponding pillar. Once both pillars are filled and they disappear, the way forward will open for your guardian to progress.
This dungeon ramps up the action pretty quickly, as the very next obstacle you will face is a boss encounter. The Phalanx Echo is initially immune to all player attacks. Luckily, the last room has already prepared you for what to do. On this platform are four more pillars, two of Light and two of Darkness. There are also more Taken Knights that drop motes.
So, just repeat the process for the last room and disable all four pillars. Once they are all disposed of, the boss will enter a damage phase. Try and make the most of this damaging time, and use high DPS weapons or exotics such as the Celestial Nighthawk.
After this boss is slaughtered, you will notice a chest appear where you can receive a powerful gear reward and can continue your quest. Once all three fireteam members are standing int he purple-hued area in the middle of the arena, the floor will sink and the dungeon sprawls onward.
The next area is gigantic and is best traversed by sparrow. The room is littered with glowing rings, and sometime these rings will also be infested with Taken Blights. These are your targets. Kill the Taken Blights and make note of which direction the Toland-esque glowing orb disappears to.
This will lead you towards the next set of Taken Blights to face down. After repeating this enough times, a text will appear on the bottom on your screen signaling that the way is open. A pink glowing light will show the way towards a large but narrow door somewhere in this massive area.
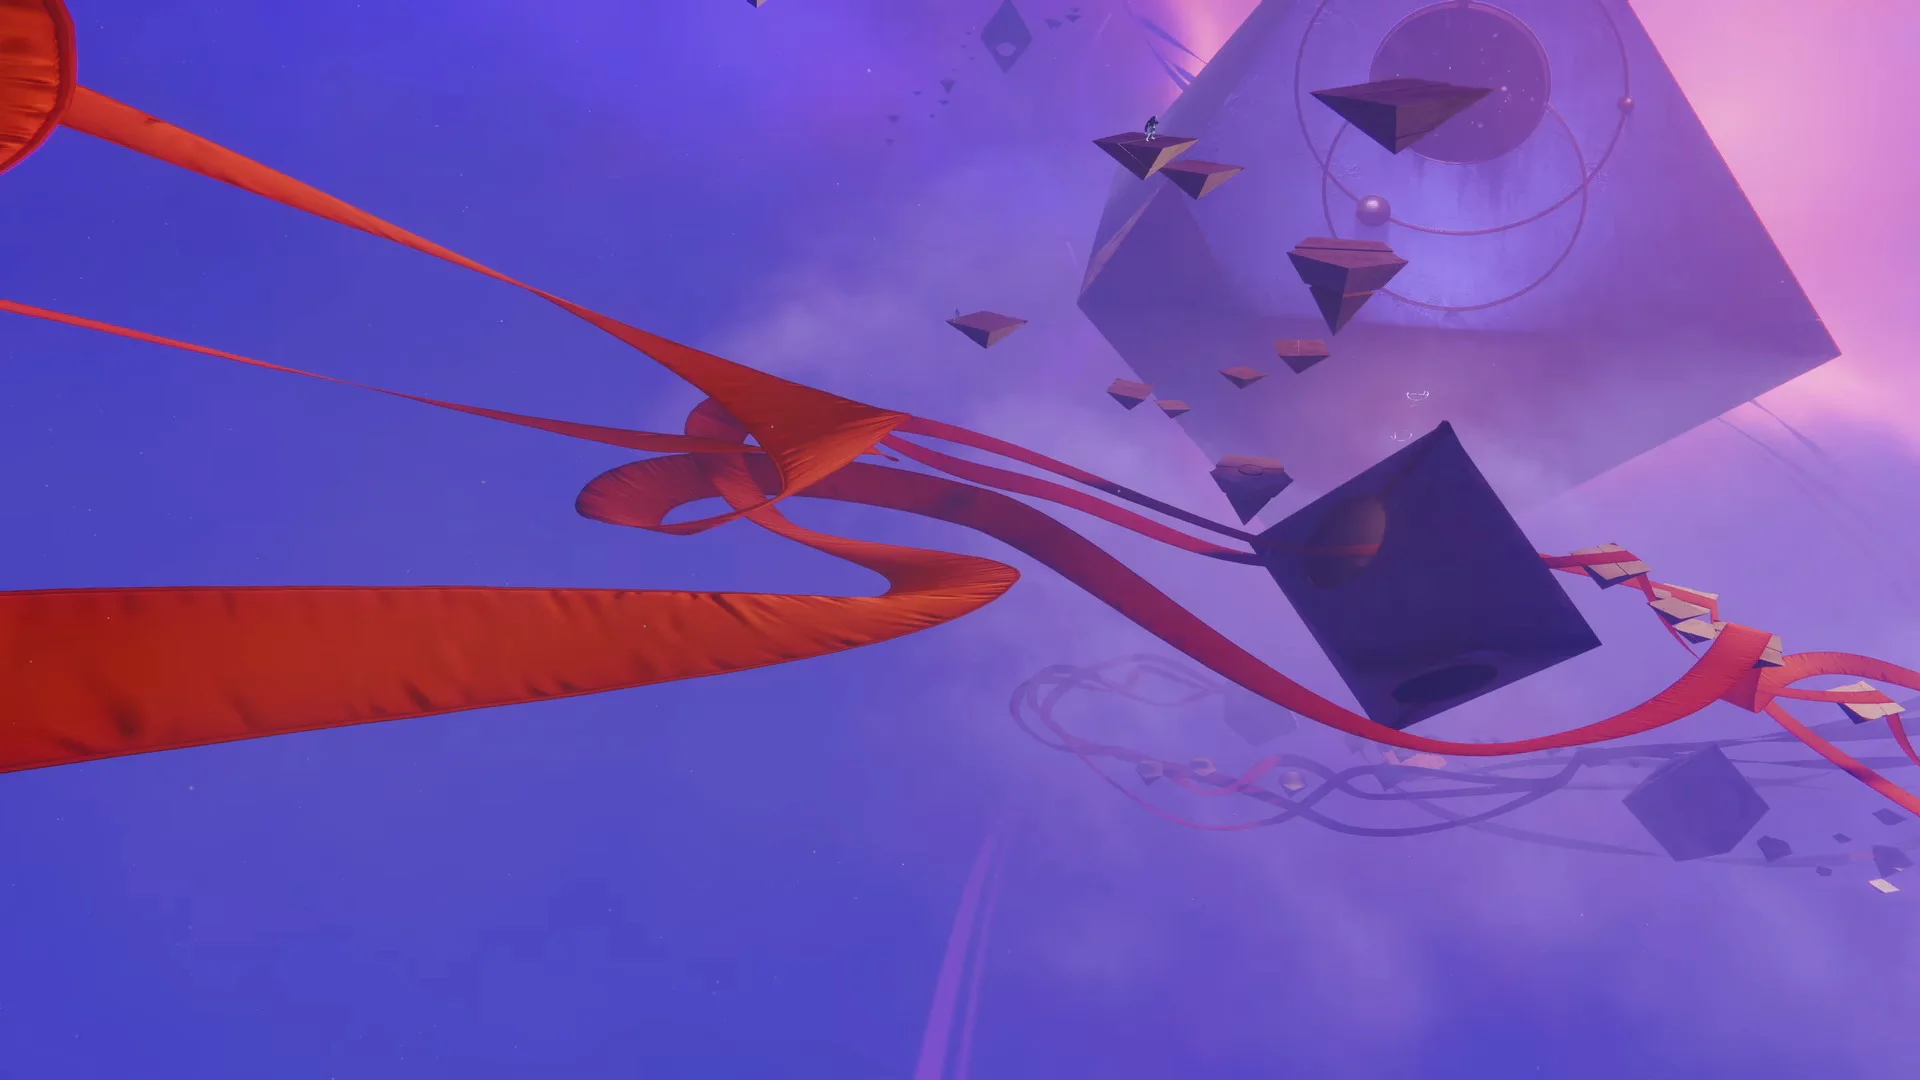
The next room is another encounter and is perhaps the most raid-like of all the dungeon rooms. While it is complicated, don’t worry, we’ll get through this together. In this room, there are several glowing circles on the sides of the room, one of which will contain another floating Toland orb. Underneath this orb will be a pillar of Light or Darkness. This pillar will be the correct one to fill in order to progress.
Once this is complete, a glowing circle will appear in the middle of the ring, and the entire fireteam must again enter it. Once you do, the entire room will shift orientation, what was previously the right side of the room could now become the bottom for example. Don’t fret too much about this, just focus on filling up the correct pillar of light, until all 6 six sides of the cube are complete.
After this is done, you will be teleported to the final area of this encounter and face down against the bosses. Two Centurion Echos are now standing in your way, but you should be able to flatten them in no time and continue forward. A reward chest will appear, and another narrow passageway will open to allow players entry.
There is only a small amount of dungeon to progress through now before you reach the final boss. This is the culmination of all the hard work you’ve put in so far, and rewards pinnacle gear. Part 2 of this guide continues with the Kell Echo boss fight.


